
Recording acoustic guitar doesn't have to suck
Recording acoustic guitar doesn't have to suck
Anyways, here's (how to record) Wonderwall

We’ve all heard A LOT of really bad acoustic guitar recordings. Most of us are guilty of making our fair share of said recordings. That’s because tracking an acoustic guitar in a home studio involves several steps, including choosing the right gear, setting up the equipment correctly, and employing effective microphone techniques. Let's break down some techniques I’ve learned over the years:
1. Choosing the Right Gear
To record an acoustic guitar, you will need the following essential gear:
Microphone(s): A large-diaphragm condenser microphone is often preferred for its ability to capture the rich, detailed sound of an acoustic guitar. A popular choice is the Neumann KM 184. For a more budget-friendly option, consider the Audio-Technica AT2020.
Audio Interface: An interface like the Focusrite Scarlett 2i2 or the Universal Audio Apollo Twin is necessary to convert the microphone's signal into a digital format for your computer.
Cables: High-quality XLR cables are required to connect your microphone to the audio interface. Cheap ones will add a hum to your recordings. Trust me.
Headphones or Monitors: To accurately monitor your recording, invest in a good pair of studio headphones, such as the Sony MDR-7506, or studio monitors like the KRK Rokit 5. If you want a real budget pick get the PreSonus Eris E4.5 for around $100 on sale FOR THE PAIR!
DAW (Digital Audio Workstation): Software like Ableton Live, Pro Tools, or Logic Pro X is needed for recording and editing the audio. Reaper is a really good option if you’re looking for a DAW you don’t have to pay for right away.
2. Setting Everything Up
Here's a basic setup guide:
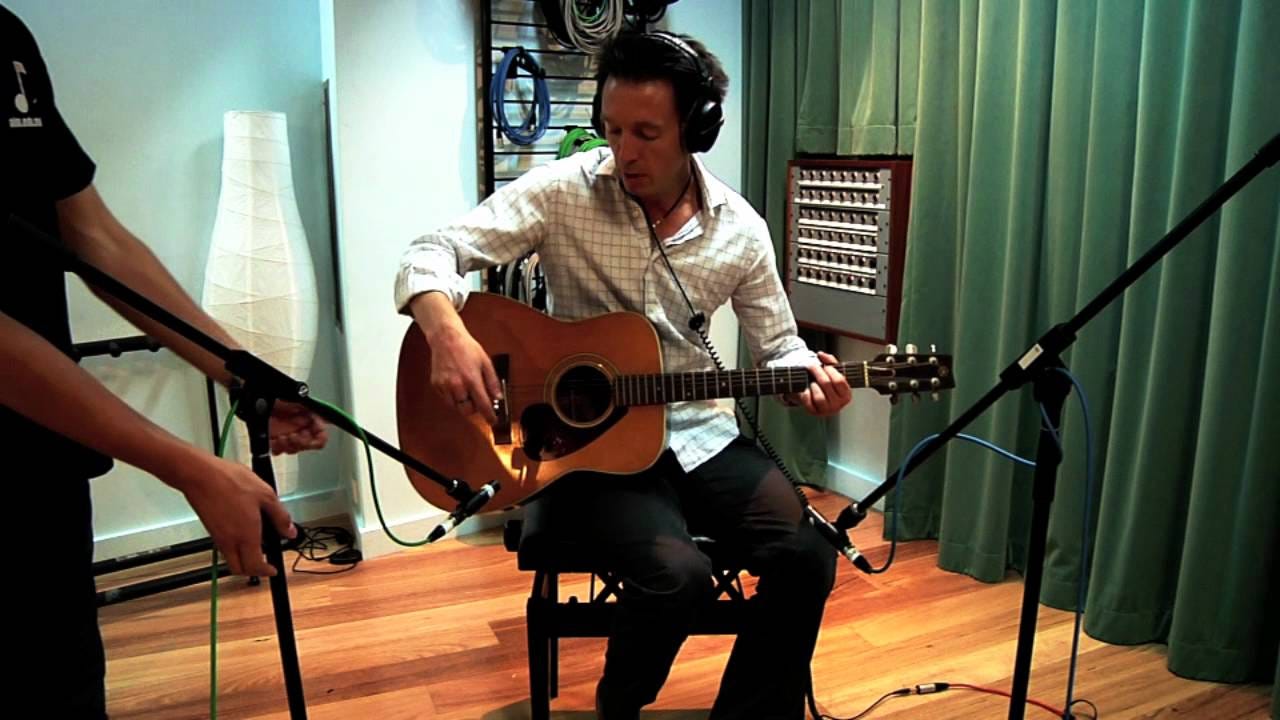
Position the Guitar: Find a quiet, acoustically neutral room. Sit in a comfortable chair with your guitar.
Set Up the Mic: Place the microphone on a stand. For a single mic setup, position it about 6-12 inches away from the guitar, aiming at the 12th fret or the body-neck joint.
3. Microphone Techniques
Various mic techniques can be used to capture different tonal qualities:
Single Mic Technique: This is the simplest method. Position one microphone (as mentioned above) to capture a balanced sound.
Stereo Pair: Use two microphones to capture a wider, more immersive sound. Common configurations include X/Y (where the mics are positioned in a cross pattern), ORTF (mics are spaced apart at an angle with some distance), and spaced pair (mics are several feet apart, aiming at different parts of the guitar).
Mid-Side (MS) Recording: This technique uses a cardioid mic (facing the guitar) and a figure-8 mic (positioned perpendicular to the guitar). It offers great stereo width and is excellent for mixing into mono without losing audio quality.


Final Tips
Experiment with Mic Placement: The position of the microphone can drastically change the sound. Experiment with different placements to find what sounds best for your particular guitar and playing style.
Check for Phase Issues: When using multiple microphones, ensure they are in phase to avoid a thin or hollow sound.
Room Treatment: Minimize room reflections by using acoustic panels or even makeshift solutions like heavy curtains or blankets.
Remember, there's no one-size-fits-all approach to recording an acoustic guitar. Your gear, room, guitar, and personal preferences will all influence the final sound, so don't be afraid to experiment and trust your ears!
